
gorgeous rustic diy place settings

It is no secret that we just adore Kara Layne and her amazing eye. Not only is she a talented photographer, but she is also extremely creative and knows how to wow us with everything she does. Today she is sharing a simple, yet gorgeous DIY. If you are looking for the perfect place setting for your holiday table, look no further than right here! Kara shares all of the details below.
I am so excited to join in the holiday fun here at Becky Higgins and share with you a beautiful and festive DIY for the holidays. When it comes to entertaining and hosting loved ones, I have a serious love affair for thought-out details. And I tend to lean towards the more rustic feel when it comes to decor, so this year for our Thanksgiving tablescape, I put together a pine garland piece for each place setting. It’s fairly quick to make and the end result is a stunning and rustic touch to your table. Even better? These garland pieces can be used throughout the entire holiday season - Thanksgiving, Christmas, and New Years - and would also be great to have on hand for rustic or woodland-themed parties or gatherings.
The supplies you will need are:
- garland of your choosing (You will want to make sure it isn’t a stem that is stiff; you want more of the “waterfall variety” to make it easy to work with. I found mine at Michael’s, but all local craft stores will carry pine stems.)
- green floral tape
- a good pair of scissors

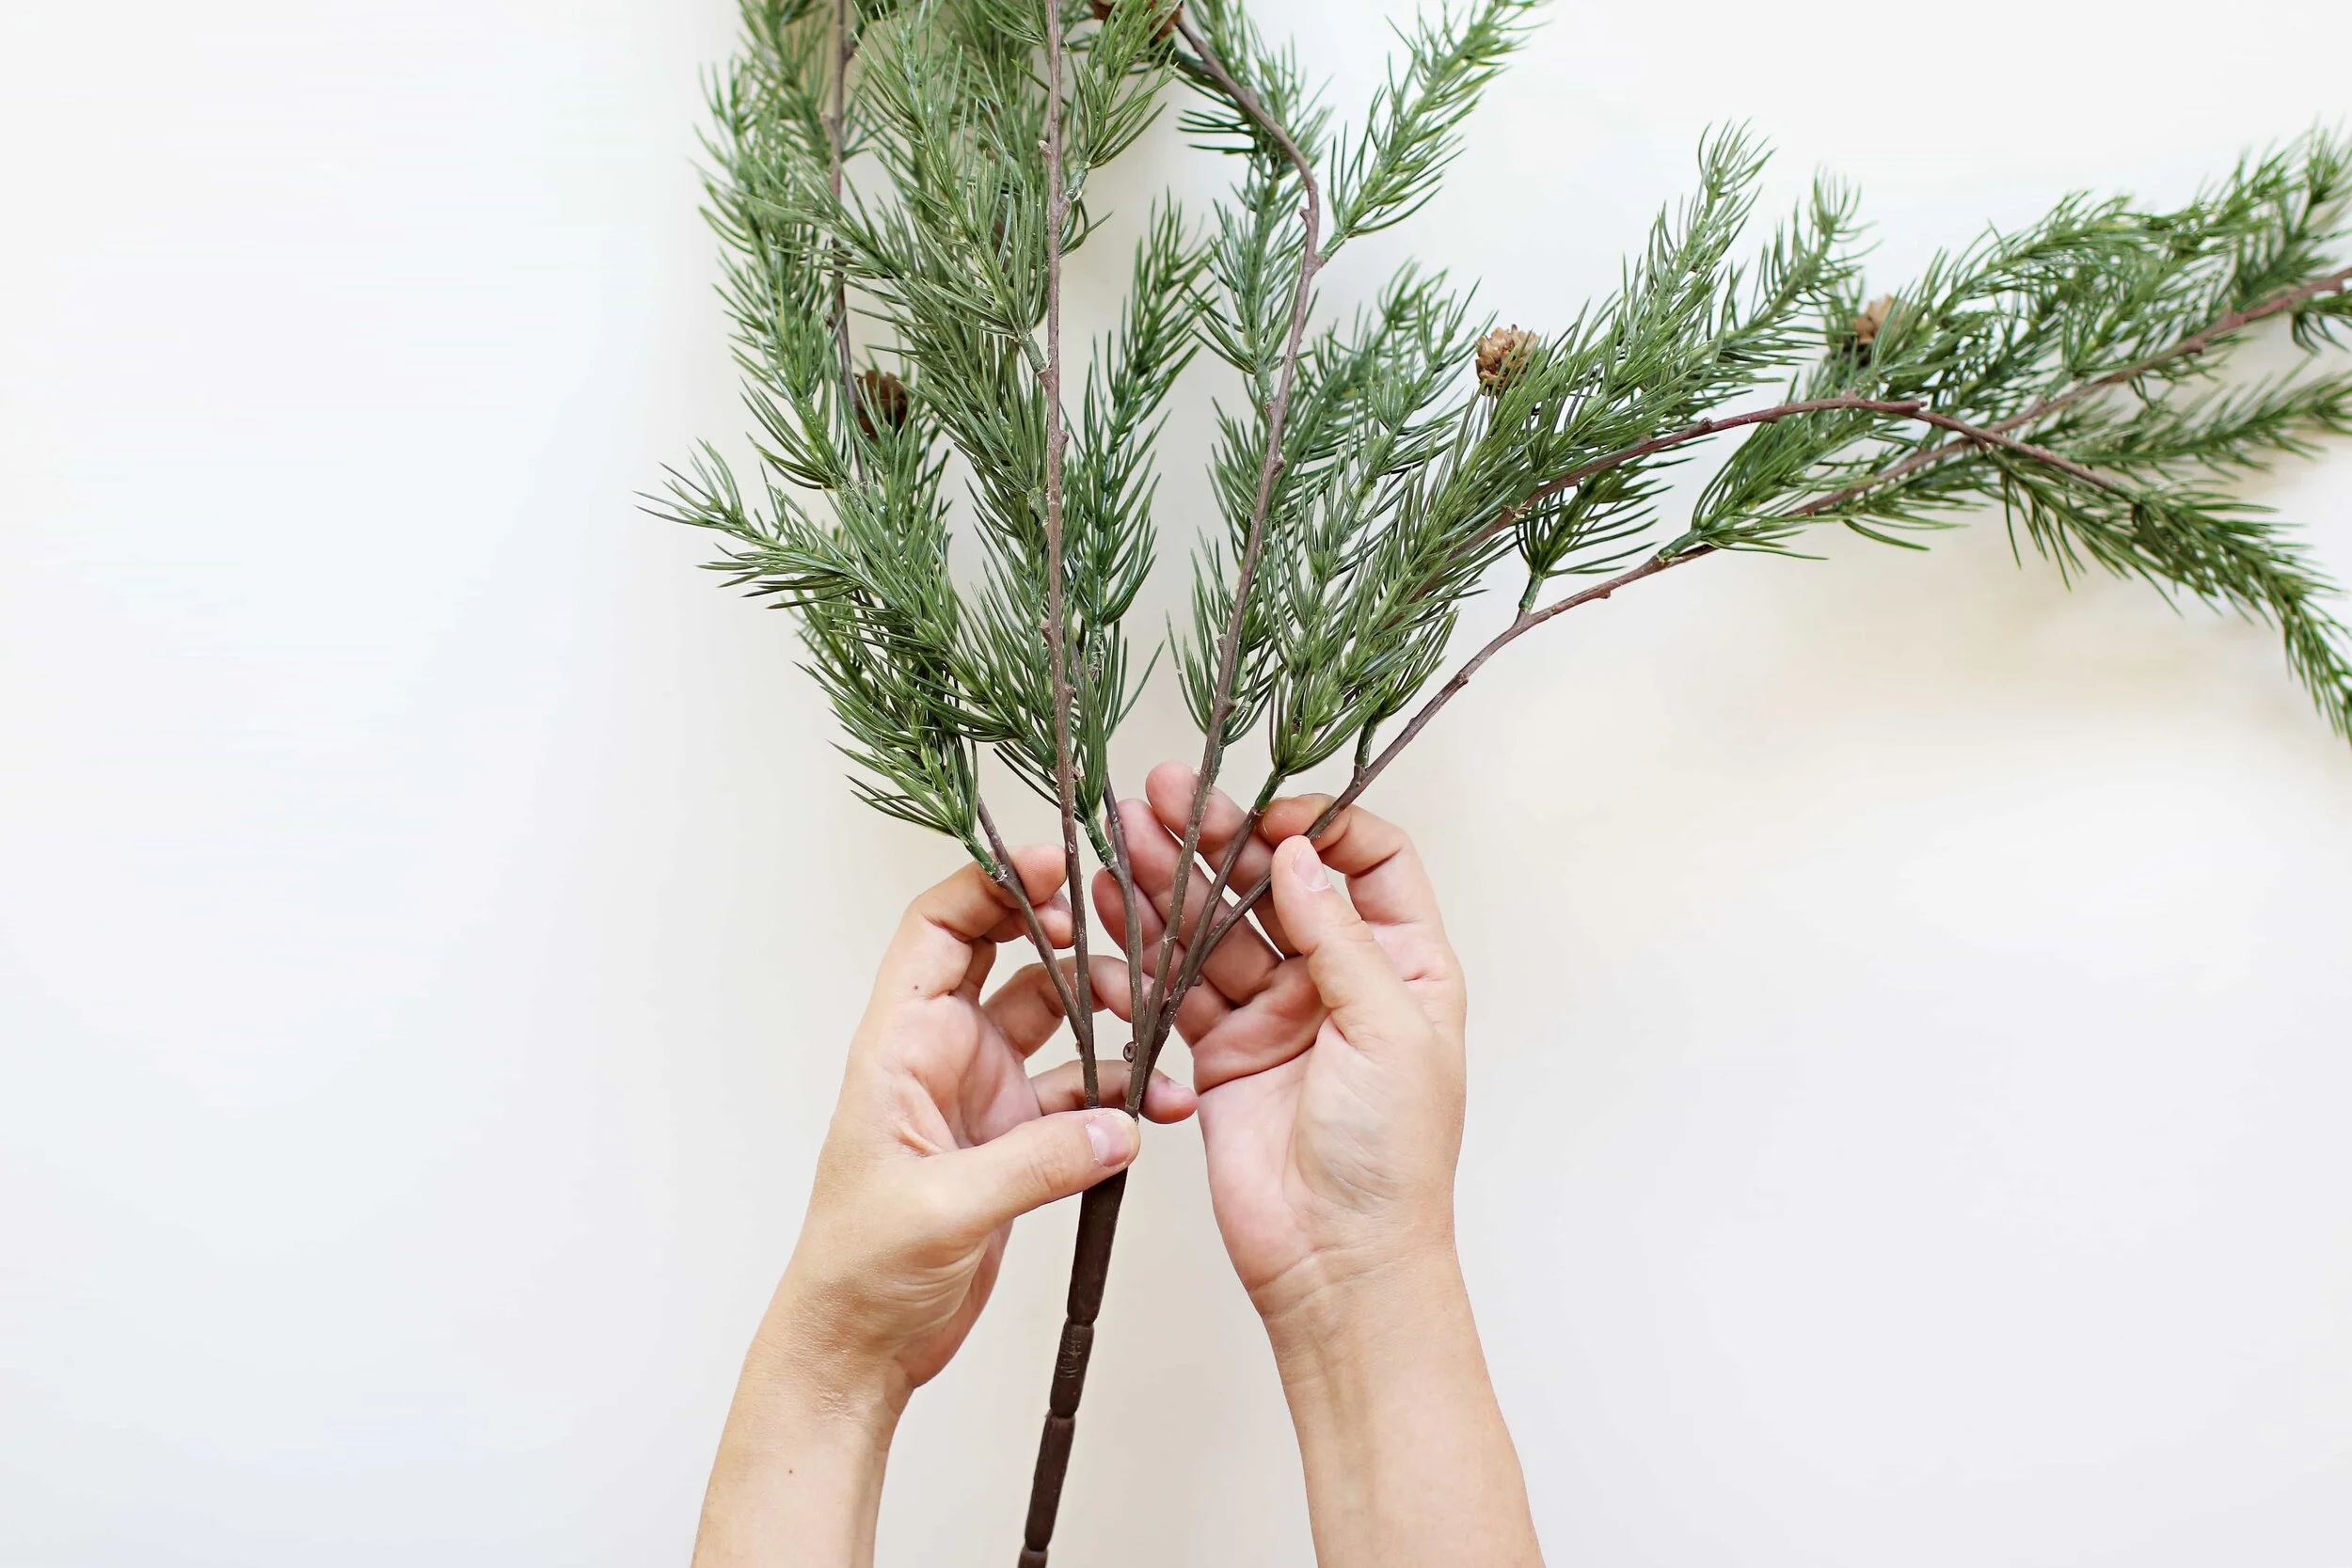
Step 1. I started off by cutting each individual branch from the main stem. You will want to make sure that you leave yourself some space and room on the end of each stem since you will be applying tape to gather branches together.


Step 2. Next, you will want to start shaping your branches in a circular shape, making sure that all of the stems are “growing” in the same direction. Each time you feel that you have made a good fit with two branches, apply your floral tape to that spot.


Step 3. As you go along creating your garland circle, make sure to also have the plate you will be using for your table close by. This will help to make sure that as you are working, your circular shape is the appropriate size for how you want it to fit when placed underneath each plate.


Step 4. Once you have finished piecing your garland together, you will then want to go through and spruce things up. I decided to remove the pinecones on my pine stems as well as trim down a few pieces and branches to make a more cohesive and groomed look.

Step 5. Now you have a beautiful rustic touch to your table so keep going and decorate to your heart’s desire. Continue with the rustic theme by adding in rustic napkin rings and even mason jars for glasses. Or, if you prefer a more refined look, add touches of gold here and there to tie in a more classic look and feel. Either way, I think a Thanksgiving table that has layers and lots of details is one that creates an even more inviting and festive atmosphere. Not to mention, your guests will love adoring the details while they gather around and dine!
Links to items pictured:
Gray Napkins // White Plates // Silverware // Rustic Napkin Rings (similar to the ones pictured)